
System.CommandLine is a very good parser but you need a lot of boilerplate code to get going and the API is hard to discover.
This becomes complicated to newcomers and also you would have a lot of ugly code in your Program.cs to maintain.
What if you had an easy class-based layer combined with a good parser?
DotMake.CommandLine is a library which provides declarative syntax for System.CommandLine via attributes for easy, fast, strongly-typed (no reflection) usage. The library includes a source generator which automagically converts your classes to CLI commands and properties to CLI options or CLI arguments. Supports trimming, AOT compilation and dependency injection!

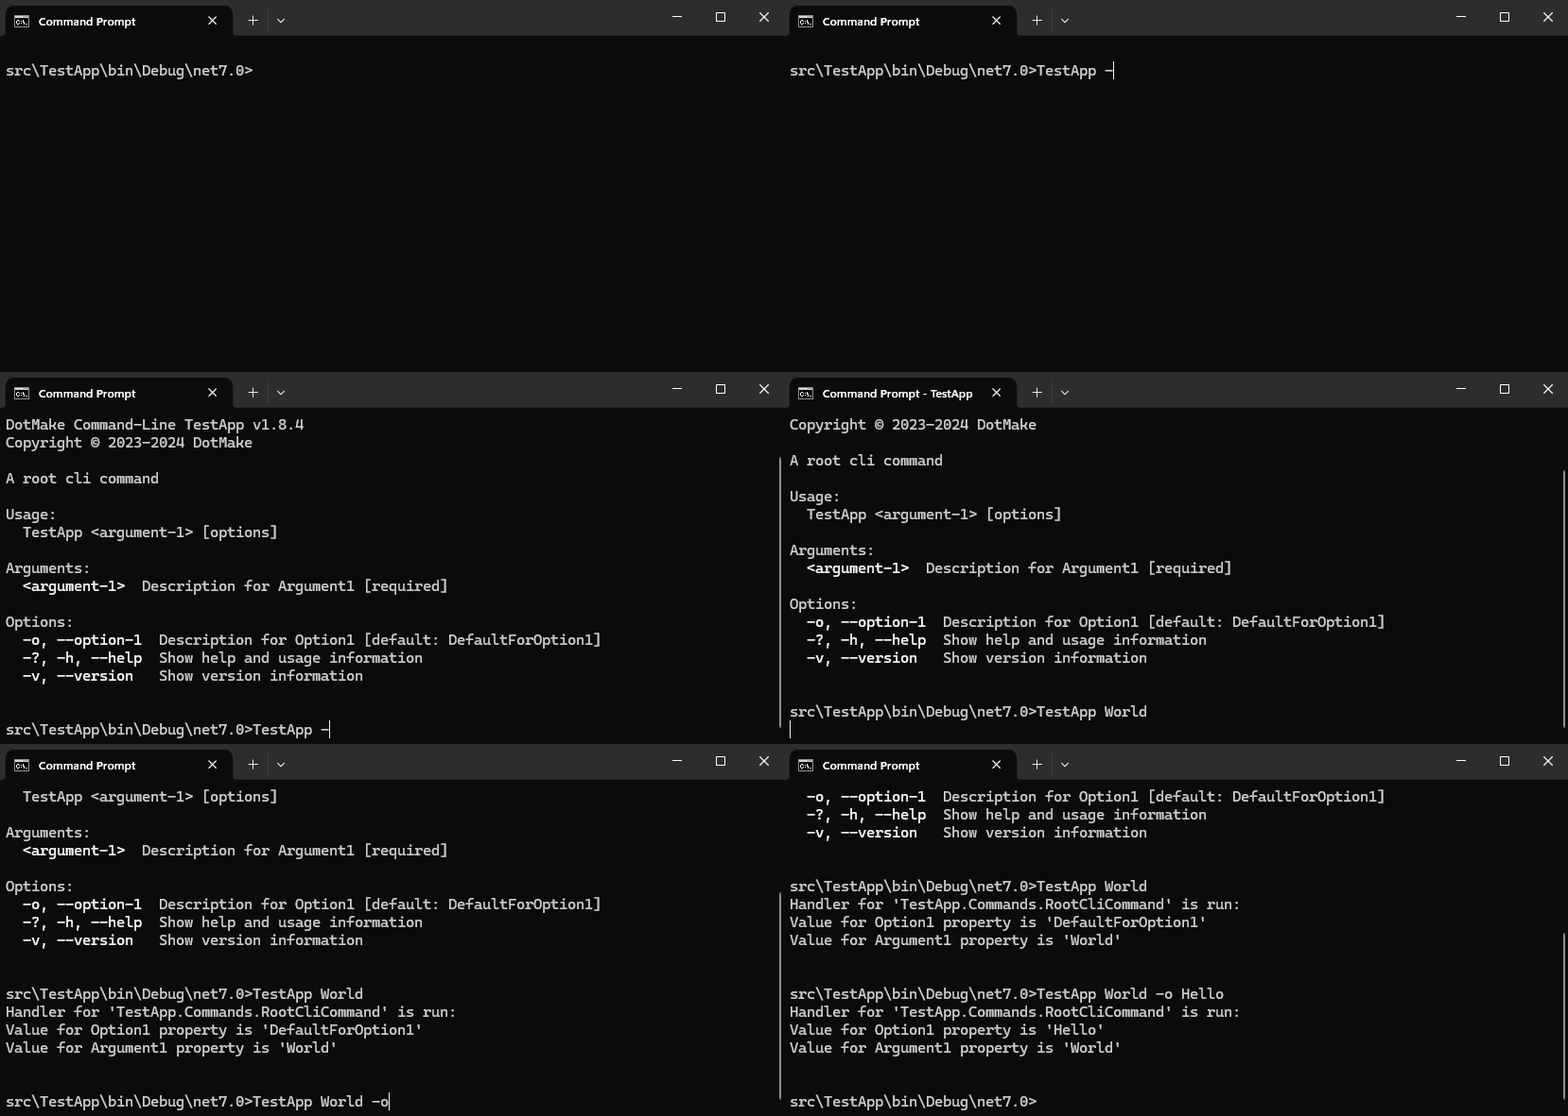
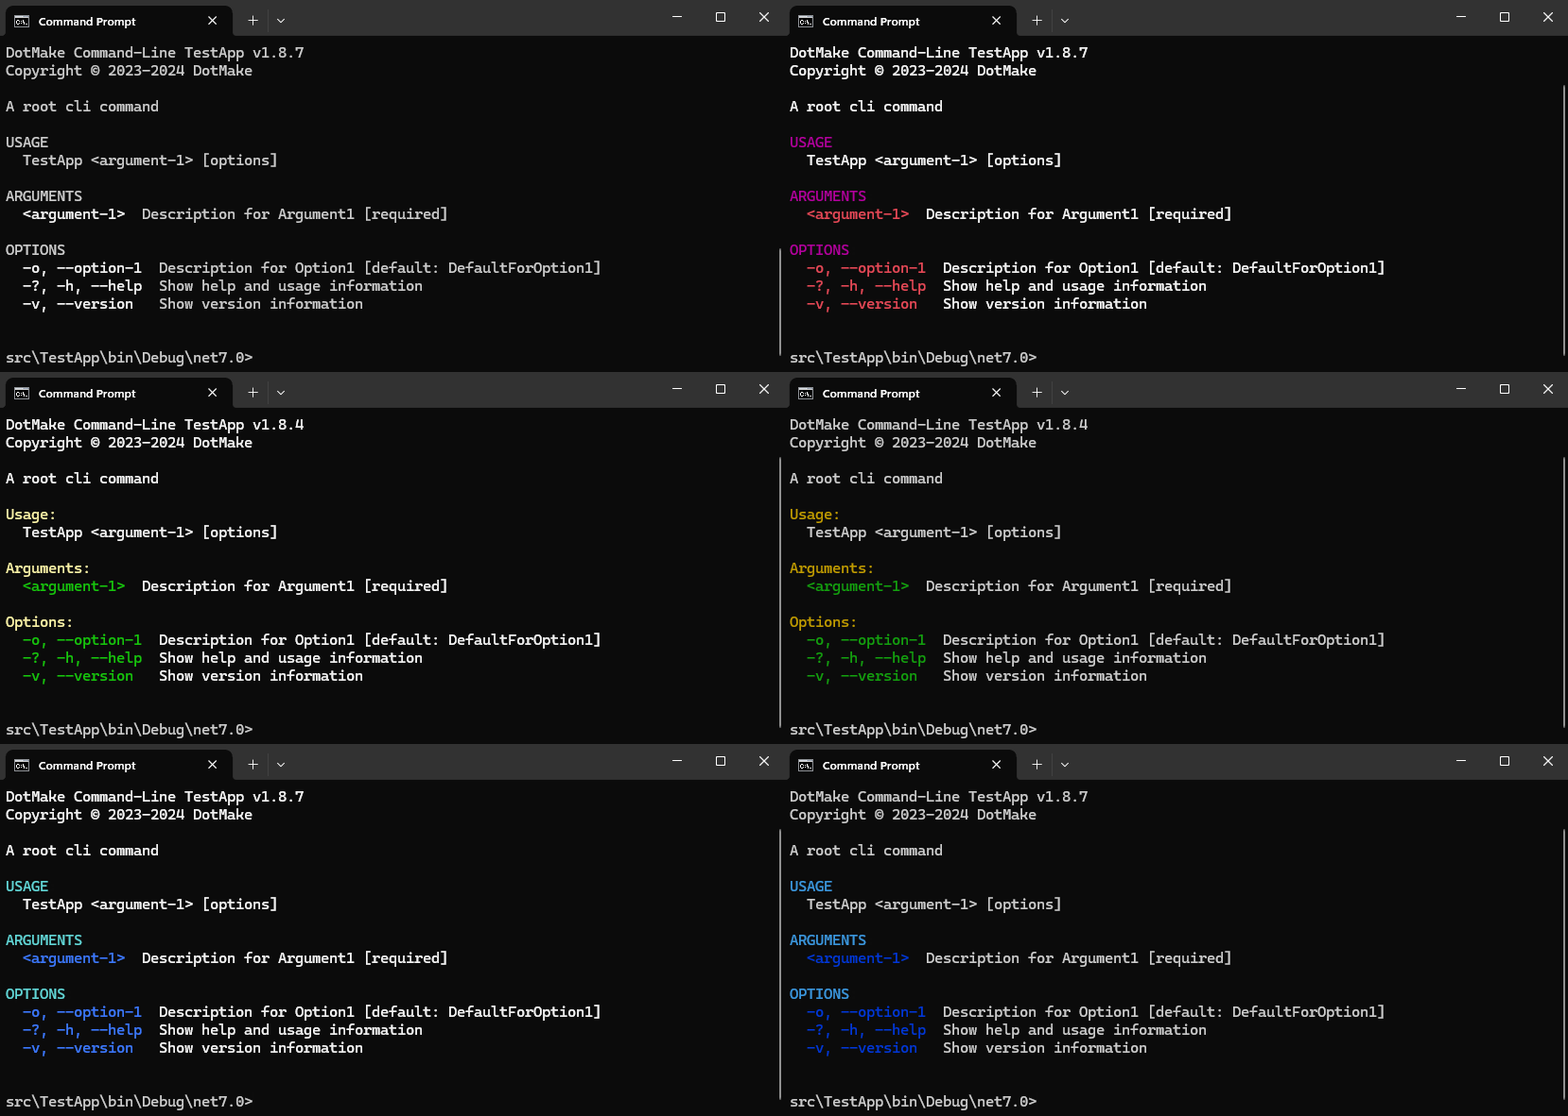
Install the library to your console app project with NuGet.
In your project directory, via dotnet cli:
dotnet add package DotMake.CommandLineor in Visual Studio Package Manager Console:
PM> Install-Package DotMake.CommandLine- .NET 8.0 and later project or .NET Standard 2.0 and later project.
Note that .NET Framework 4.7.2+ or .NET Core 2.0 to .NET 7.0 projects can reference our netstandard2.0 target (automatic in nuget).
If your target framework is below net5.0, you also need<LangVersion>9.0</LangVersion>tag (minimum) in your .csproj file. - Visual Studio 2022 v17.3+ or .NET SDK 6.0.407+ (when building via
dotnetcli).
Our incremental source generator requires performance features added first in these versions. - Usually a console app project but you can also use a class library project which will be consumed later.
DotMake.CommandLine offers 2 models: class-based model and delegate-based model. Delegate-based model is useful for simple apps, for more complex apps, you should use the class-based model because you can have sub-commands and command inheritance.
Create a CLI App with DotMake.Commandline in seconds!
In Program.cs, add this simple code:
using System;
using DotMake.CommandLine;


// Add this single line to run you app!
Cli.Run<RootCliCommand>(args);


// Create a simple class like this to define your root command:
[CliCommand(Description = "A root cli command")]
public class RootCliCommand
{
    [CliOption(Description = "Description for Option1")]
    public string Option1 { get; set; } = "DefaultForOption1";

    [CliArgument(Description = "Description for Argument1")]
    public string Argument1 { get; set; }

    public void Run()
    {
        Console.WriteLine($"Handler for '{GetType().FullName}' is run:");
        Console.WriteLine($"Value for {nameof(Option1)} property is '{Option1}'");
        Console.WriteLine($"Value for {nameof(Argument1)} property is '{Argument1}'");
        Console.WriteLine();
    }
}
And that's it! You now have a fully working command-line app.
You just specify the name of your class which represents your root command to Cli.Run<> method and everything is wired.
argsis the string array typically passed to a program. This is usually the special variableargsavailable inProgram.cs(new style with top-level statements) or the string array passed to the program'sMainmethod (old style). We also have method signatures which does not requireargs, for example you can also callCli.Run<RootCliCommand>()and in that caseargswill be retrieved automatically from the current process viaCli.GetArgs().
If you want to go async, just use this:
await Cli.RunAsync<RootCliCommand>(args);To handle exceptions, you just use a try-catch block:
try
{
    Cli.Run<RootCliCommand>(args);
}
catch (Exception e)
{
    Console.WriteLine(@"Exception in main: {0}", e.Message);
}
System.CommandLine, by default overtakes your exceptions that are thrown in command handlers
(even if you don't set an exception handler explicitly) but DotMake.CommandLine, by default allows
the exceptions to pass through. However if you wish, you can easily use the default exception handler
by passing a CliSettings instance like below. Default exception handler prints the exception in red color to console:
Cli.Run<RootCliCommand>(args, new CliSettings { EnableDefaultExceptionHandler = true });If you need to simply parse the command-line arguments without invocation, use this:
var result = Cli.Parse<RootCliCommand>(args);
var rootCliCommand = result.Bind<RootCliCommand>();
If you need to examine the parse result, such as errors:
var result = Cli.Parse<RootCliCommand>(args);
if (result.ParseResult.Errors.Count > 0)
{

}-
Mark the class with
[CliCommand]attribute to make it a CLI command (see CliCommandAttribute and Commands docs for more info). -
Mark a property with
[CliOption]attribute to make it a CLI option (see CliOptionAttribute and Options docs for more info). -
Mark a property with
[CliArgument]attribute to make it a CLI argument (see CliArgumentAttribute and Arguments docs for more info). -
Add a method with name
RunorRunAsyncto make it the handler for the CLI command. The method can have one of the following signatures:-
void Run()
-
int Run()
-
async Task RunAsync()
-
async Task<int> RunAsync()
Optionally the method signature can have a
CliContextparameter in case you need to access it:-
Run(CliContext context)
-
RunAsync(CliContext context)
We also provide interfaces
ICliRun,ICliRunWithReturn,ICliRunWithContext,ICliRunWithContextAndReturnand async versionsICliRunAsync,ICliRunAsyncWithReturn,ICliRunAsyncWithContext,ICliRunAsyncWithContextAndReturnthat you can inherit in your command class. Normally you don't need an interface for a handler method as the source generator can detect it automatically, but the interfaces can be used to prevent your IDE complain about unused method in class.The signatures which return int value, sets the ExitCode of the app. If no handler method is provided, then by default it will show help for the command. This can be also controlled manually by
ShowHelp()method ofCliContext. Other methodsShowValues()andShowHierarchy()are also useful. -
-
Call
Cli.Run<>orCli.RunAsync<>method with your class name to run your CLI app (see Cli.Run, Cli.RunAsync and Model binding docs for more info). -
For best practice, create a subfolder named
Commandsin your project and put your command classes there so that they are easy to locate and maintain in the future.
Create a CLI App with DotMake.Commandline in seconds!
In Program.cs, add this simple code:
using System;
using DotMake.CommandLine;

Cli.Run(([CliArgument]string arg1, bool opt1) =>
{
    Console.WriteLine($"Value for {nameof(arg1)} parameter is '{arg1}'");
    Console.WriteLine($"Value for {nameof(opt1)} parameter is '{opt1}'");
});
And that's it! You now have a fully working command-line app.
- Pass a delegate (a parenthesized lambda expression or a method reference) which has parameters that represent your options and arguments, to
Cli.Run<>orCli.RunAsync<>method (see Cli.Run, Cli.RunAsync and Model binding docs for more info). - A parameter is by default considered as a CLI option but you can;
- Mark a parameter with
[CliArgument]attribute to make it a CLI argument and specify settings (see CliArgumentAttribute and Arguments docs for more info). - Mark a parameter with
[CliOption]attribute to specify CLI option settings (see CliOptionAttribute and Options docs for more info). - Mark the delegate itself with
[CliCommand]attribute to specify CLI command settings (see CliCommandAttribute and Commands docs for more info). - Note that for being able to mark a parameter with an attribute in an anonymous lambda function,
if your target framework is below net6.0, you also need
<LangVersion>10.0</LangVersion>tag (minimum) in your .csproj file.
- Mark a parameter with
- Set a default value for a parameter if you want it to be optional (not required to be specified on the command-line).
- Your delegate can be
async. - Your delegate can have a return type
voidorintand if it's asyncTaskorTask<int>.
- DotMake Command-Line Documentation
- DotMake Command-Line API Reference
- Command-line syntax overview for System.CommandLine
We provide some .cmd batch scripts in build folder for easier building:
1. Build TestApp.cmd
2. Build Nuget Package.cmd
3.1. Build TestApp.Nuget.cmd
3.2. Build TestApp.NugetDI.cmd
3.3. Build TestApp.NugetAot.cmd
4. Build Api Docs WebSite.cmd
Output results can be found in publish folder, for example:
TestApp-net472
TestApp-net8.0

DotMake.CommandLine.2.5.6.nupkg

TestApp.Nuget-net472
TestApp.Nuget-net8.0

TestApp.NugetDI-net472
TestApp.NugetDI-net8.0

TestApp.NugetAot-win-x64-native
TestApp.NugetAot-win-x64-trimmed